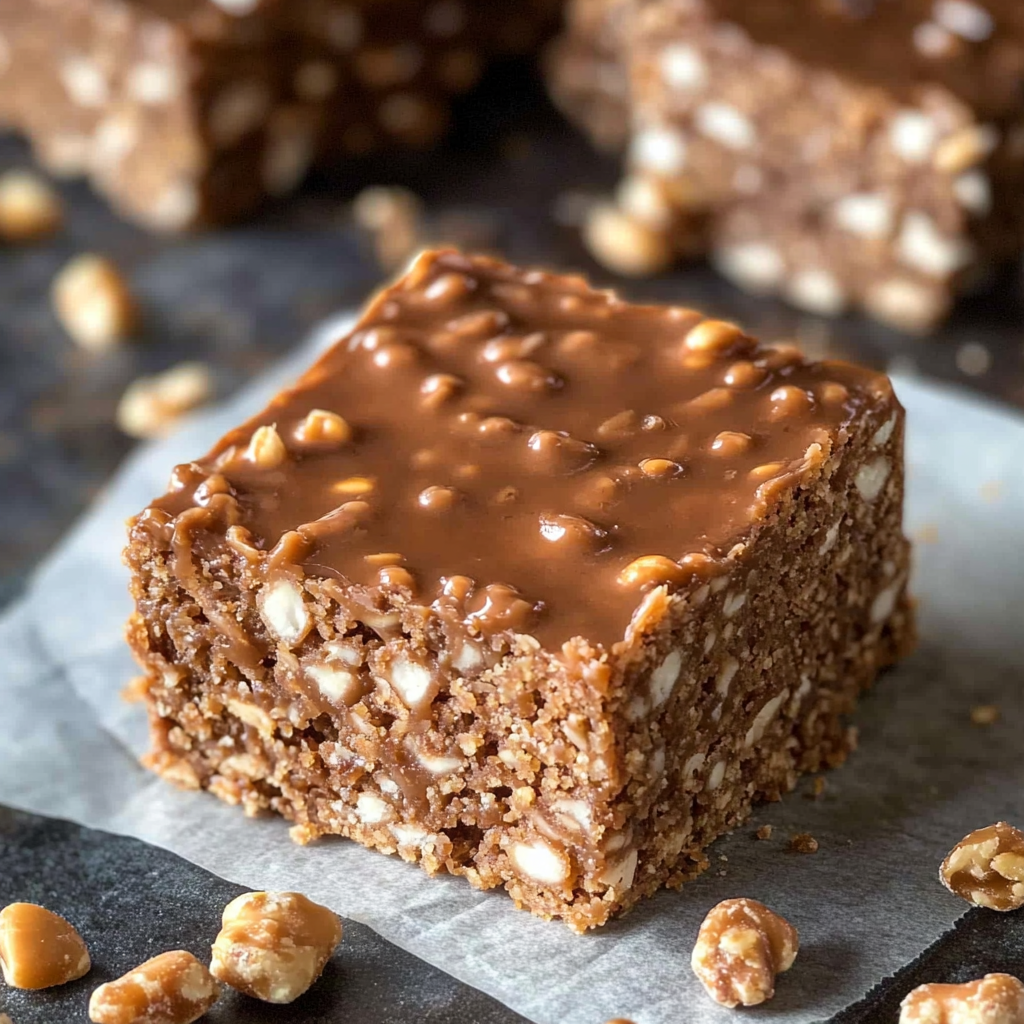
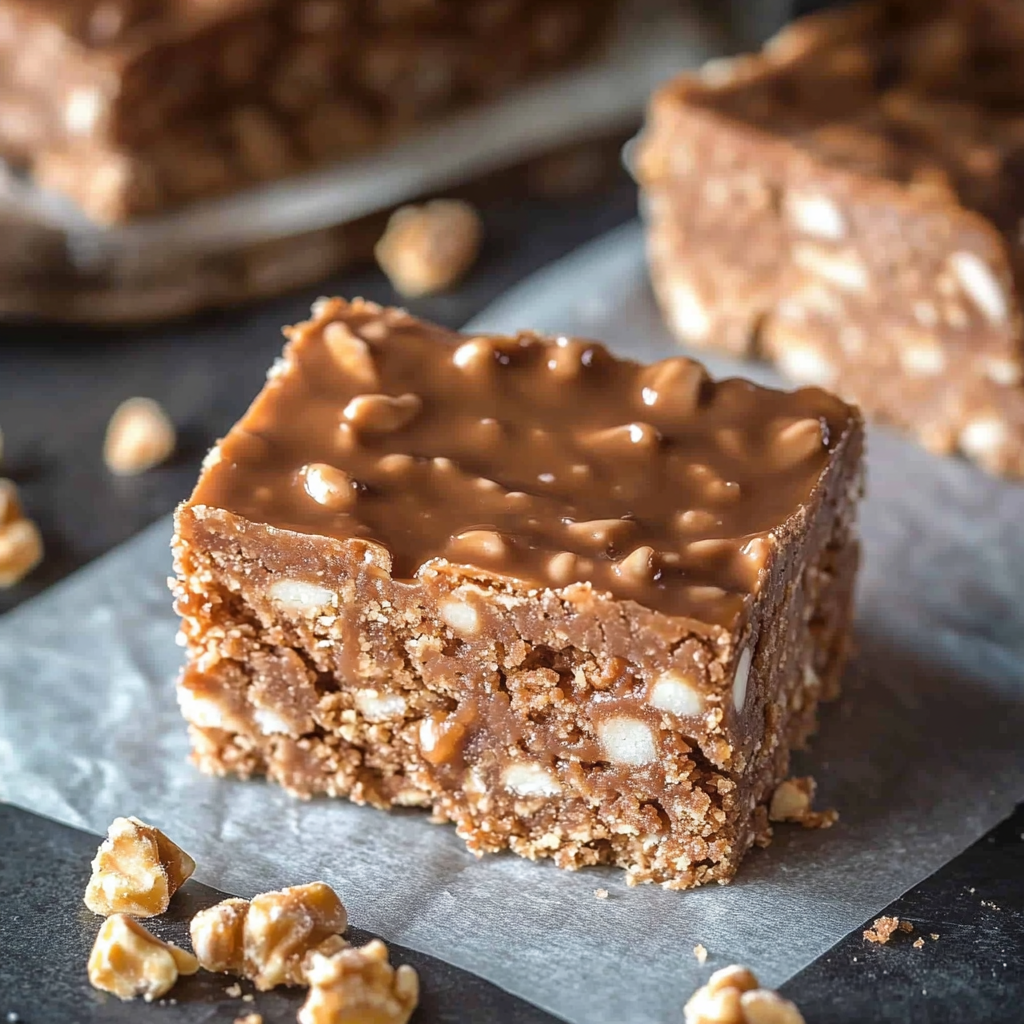
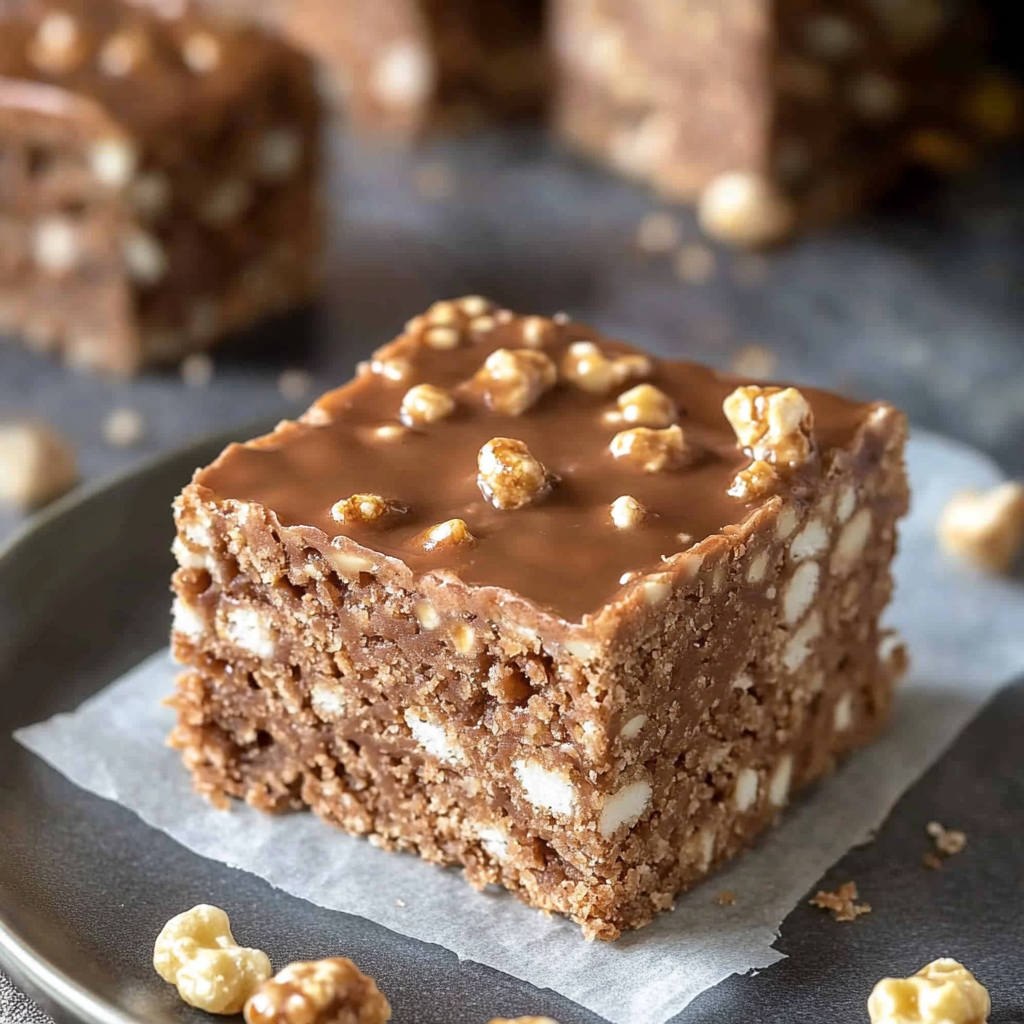
Imagine biting into a decadent treat that combines the satisfying crunch of your favorite cereal with the rich sweetness of chocolate. Yes, I’m talking about Homemade Crunch Bars! These delightful bars deliver a symphony of textures and flavors, making them perfect for any occasion. decadent dessert brownies Picture this: a warm afternoon, the aroma of melted chocolate wafting through your kitchen, and your friends’ faces lighting up as they take their first bite—pure bliss.
A few years back, I decided to impress my family with these bars during a weekend gathering. Little did I know that a simple dessert would spark a debate on who could eat the most! The laughter and joy that followed made it an unforgettable experience. So let’s dive into this crunchy adventure that promises not just heavenly flavors but also moments worth cherishing.
Why You'll Love This Recipe
- Homemade Crunch Bars are quick to prepare, making them perfect for last-minute cravings
- Their delightful blend of textures will have everyone asking for seconds
- The vibrant colors will catch your eye and brighten any dessert table
- With endless variations, you can customize them to suit any taste or occasion
I remember the first time I made these bars; my brother nearly cried tears of joy at their deliciousness!

Essential Ingredients
Here’s what you’ll need to make this delicious dish:
Rice Cereal: Choose crispy rice cereal for that classic crunch; it’s essential for texture.
Chocolate Chips: Use semi-sweet or dark chocolate chips based on your preference for sweetness.
Peanut Butter: Opt for creamy peanut butter for easy mixing; it adds richness and flavor.
Butter: Unsalted butter works best; it allows you to control the saltiness in your bars.
Vanilla Extract: A splash enhances the overall flavor profile; don’t skip this!
The full ingredients list, including measurements, is provided in the recipe card directly below.
Let’s Make It Together
Gather Your Ingredients: Start by measuring out all your ingredients so you’re ready to go without any interruptions. This step saves time and makes everything smoother.
Melt the Chocolate Mixture: In a saucepan over low heat, combine chocolate chips, butter, and peanut butter until melted and smooth. Stir frequently to avoid burning. For more inspiration, check out this decadent peanut butter brownies recipe.
Add Vanilla and Rice Cereal: Once melted, remove from heat and stir in vanilla extract. Gradually fold in the rice cereal until fully coated in chocolaty goodness.
Transfer to Baking Pan: Line an 8×8-inch baking pan with parchment paper. Pour the mixture into the pan and press down firmly using a spatula or your hands until even. For more inspiration, check out this banana bread cookies recipe.
Chill Until Set: Place the pan in the fridge for at least one hour to allow the bars to firm up completely before cutting them into squares.
Enjoy your Homemade Crunch Bars as an afternoon snack or after dinner treat! These crunchy delights are sure to bring smiles all around! berry icebox cake.
You Must Know
- Homemade Crunch Bars are not just delicious; they are a fun treat that can be tailored to your taste
- Experiment with toppings to create your signature flavor
- The satisfying crunch will delight everyone, making it a favorite for parties or quiet nights at home
Perfecting the Cooking Process
Start by melting chocolate and peanut butter together, allowing them to blend smoothly before adding crispy rice. This order ensures a perfectly coated crunch without any clumps.

Add Your Touch
Feel free to swap out the peanut butter for almond or cashew butter. You can also mix in mini marshmallows or dried fruit for an exciting twist. guilt-free yogurt bark.
Storing & Reheating
Store your Homemade Crunch Bars in an airtight container at room temperature for up to a week. healthy oatmeal bars recipe If you prefer, you can freeze them for longer-lasting enjoyment.
Chef's Helpful Tips
- When making Homemade Crunch Bars, ensure your chocolate is not too hot; this helps avoid sogginess
- Use fresh ingredients for better flavor and texture
- Also, resist the urge to skip parchment paper; it makes removal much easier!
I once made a batch of these bars for a family gathering, and they vanished in minutes! Everyone loved the crunch and begged for more; I secretly enjoyed watching them disappear.

FAQ
Can I use dark chocolate instead of milk chocolate?
Absolutely! Dark chocolate adds a rich taste that pairs well with the crunch.
What if I don’t have crispy rice?
You can substitute with cornflakes or even crushed graham crackers for varying textures.
How do I make them vegan?
Opt for dairy-free chocolate and almond or sunflower seed butter as substitutes.

Decadent Homemade Crunch Bars
- Total Time: 25 minutes
- Yield: Approximately 12 servings 1x
Description
Indulge in the ultimate treat with Homemade Crunch Bars, where the satisfying crunch of crispy rice cereal meets the rich sweetness of chocolate and creamy peanut butter. These bars are perfect for any occasion, easy to make, and customizable to suit every taste. Ideal for gatherings or a sweet pick-me-up, they deliver delightful flavors and textures that will leave everyone wanting more.
Ingredients
- 4 cups crispy rice cereal
- 1 cup semi-sweet chocolate chips
- 1/2 cup creamy peanut butter
- 1/4 cup unsalted butter
- 1 tsp vanilla extract
Instructions
- Gather and measure all ingredients for a smooth cooking process.
- In a saucepan over low heat, melt chocolate chips, peanut butter, and butter together until smooth, stirring frequently.
- Remove from heat and stir in the vanilla extract.
- Gradually fold in the crispy rice cereal until fully coated with the chocolate mixture.
- Line an 8×8-inch baking pan with parchment paper. Pour the mixture into the pan and press down evenly with a spatula.
- Refrigerate for at least one hour until set before cutting into squares.
- Prep Time: 15 minutes
- Cook Time: 10 minutes
- Category: Dessert
- Method: No-bake
- Cuisine: American
Nutrition
- Serving Size: 1 serving
- Calories: 180
- Sugar: 10g
- Sodium: 50mg
- Fat: 9g
- Saturated Fat: 3.5g
- Unsaturated Fat: 5g (approx.)
- Trans Fat: 0g
- Carbohydrates: 23g
- Fiber: 1g
- Protein: 3g
- Cholesterol: 5mg
Keywords: For added texture, consider mixing in mini marshmallows or dried fruit. Substitute peanut butter with almond or cashew butter for a different flavor profile. Store in an airtight container at room temperature for up to one week or freeze for longer storage.
