Imagine biting into a golden corn fritter, where the sweet crunch of corn dances with a hint of spicy jalapeño, all wrapped in a crispy shell that crackles with every delightful mouthful. The aroma wafts through the air, promising an explosion of flavor that will make your taste buds do a happy jig.

As I recall summer picnics at Grandma’s house, these corn fritters were an irresistible staple, often disappearing faster than you could say “more please.” Whether you’re hosting a backyard BBQ or simply craving a snack that feels like a warm hug, this recipe will transport you back to sun-drenched days filled with laughter and love. Get ready to impress your friends and family with a dish that is not just food but a nostalgic experience bursting with flavor!
Why You'll Love This Recipe
- These delightful corn fritters are so easy to whip up, even your kitchen-phobic friend could manage it
- Bursting with sweet corn goodness, they’ll have your taste buds doing a happy dance
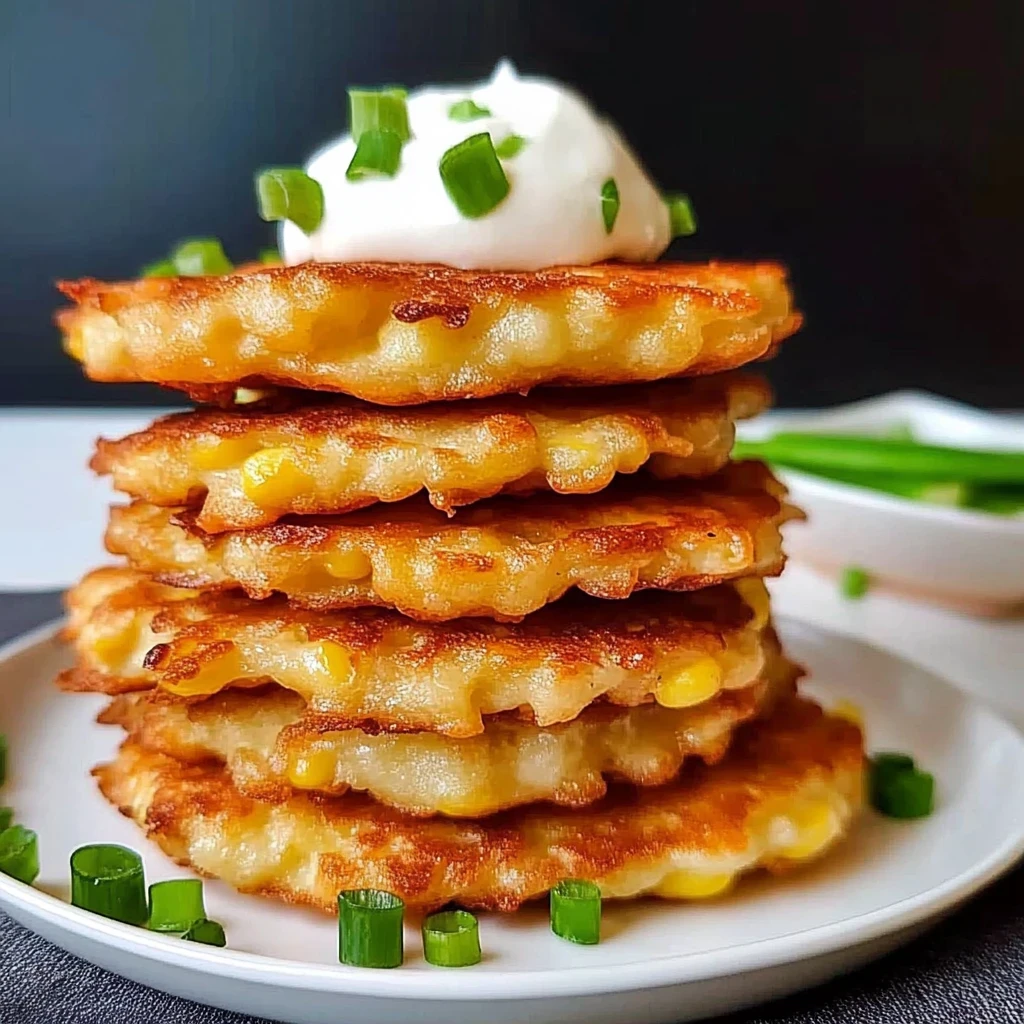
- With a golden-brown exterior and fluffy interior, they’re practically a Pinterest dream come true
- Serve them as appetizers or brunch delights; these fritters are ready to shine at any meal!
I still remember the joy on my kids’ faces the first time they tasted my homemade corn fritters at our summer picnic.
Essential Ingredients
Here’s what you’ll need to make these delicious corn fritters:
- Fresh Corn Kernels: Use sweet, fresh corn for the best flavor and texture in your fritters.
- All-Purpose Flour: This forms the base of the batter; choose unbleached flour for a richer taste.
- Baking Powder: A crucial leavening agent that helps the fritters become light and fluffy.
- Salt: Enhances all the natural flavors; adjust to your preference, but don’t skip it completely.
- Eggs: They bind the mixture together; use large eggs for optimal results.
- Milk: Adds moisture to the batter; whole milk gives a creamier texture, but any kind will work.
- Green Onions: Fresh green onions add a hint of sharpness and color; choose vibrant green stalks.
- Red Bell Pepper: Provides sweetness and crunch; opt for firm peppers with smooth skin for best results.
- Pepper Flakes: Optional, but they add a delightful kick if you enjoy a little heat in your fritters.
- Vegetable Oil: Used for frying; canola or sunflower oil works well due to their high smoke points.
The full ingredients list, including measurements, is provided in the recipe card directly below.
Let’s Make it together
Gather Your Ingredients: Start by collecting all the ingredients for your corn fritters. You’ll need fresh corn, flour, eggs, and a handful of spices. Take a moment to appreciate the vibrant yellow of the corn and the earthy tones of the flour. This colorful array not only looks appealing but also hints at the delightful flavors that await. I like to use sweet corn for an extra burst of flavor. Make sure to have your mixing bowl and a whisk handy as we dive into this delicious process.
Mixing it Up: In a large mixing bowl, combine about 1 cup of fresh corn kernels with 1 cup of all-purpose flour, 1 teaspoon of baking powder, and a pinch of salt and pepper. The sound of the dry ingredients clinking together is music to any cook’s ears! Gently fold in two beaten eggs until everything is well combined. You want a thick batter that holds its shape yet remains slightly sticky. If you find it too thick, feel free to splash in a bit of milk for that perfect consistency.
Heat Things Up: Grab a non-stick skillet and heat it over medium heat with about 2 tablespoons of oil until shimmering. You’ll know it’s ready when you can feel gentle warmth radiating from the surface. Drizzle in a little more oil if needed; this will help create those golden-brown edges that everyone loves. Keep your kitchen well-ventilated; you might just catch the enticing aroma wafting through the air!
Scoop and Sizzle: Using a tablespoon or small ice cream scoop, carefully drop spoonfuls of your fritter batter onto the hot skillet. They should sizzle immediately upon contact, creating an inviting sound that promises deliciousness to come. Leave some space between each fritter; they will expand as they cook. Cook for about 3-4 minutes on each side or until they turn golden brown and crispy.
Serve and Enjoy: Once your corn fritters are perfectly browned, transfer them to a plate lined with paper towels to drain excess oil. Take a moment to admire your handiwork—the beautiful color and enticing aroma are hard to resist! Serve them warm with your favorite dipping sauce or simply enjoy them as is. Trust me, these bites will disappear quickly!
Chef's Helpful Tips
- For the best texture, use fresh corn if possible; frozen corn works too, but drain excess moisture first
- Avoid overmixing the batter to keep the fritters light and fluffy; a few lumps are okay
- Fry in hot oil for that perfect golden crispiness; too low heat will make them soggy
Perfecting the Cooking Process
Start by mixing your corn fritters batter, combining fresh corn, flour, and seasonings in a bowl. While the mixture rests for about 10 minutes, heat oil in a pan over medium-high heat. Once hot, drop spoonfuls of the batter into the oil and cook for 3-4 minutes per side until golden brown.
Add Your Touch
Get creative with your corn fritters by swapping in different ingredients. Try using zucchini or bell peppers for added flavor. For a spicy kick, mix in jalapeños or a pinch of cayenne pepper. You can also experiment with herbs like cilantro or parsley to brighten up the dish!
Storing & Reheating
To store corn fritters, place them in an airtight container and refrigerate for up to three days. For reheating, preheat your oven to 350°F (175°C) and bake for about 10 minutes until heated through. This method helps maintain their crispiness and flavor.
FAQ
What are corn fritters made of?
Corn fritters typically consist of corn, flour, eggs, and seasonings mixed together and fried.
How do you store leftover corn fritters?
Store leftover corn fritters in an airtight container in the refrigerator for up to three days.
Can you freeze corn fritters?
Yes, corn fritters can be frozen. Place them in a freezer-safe container for up to two months.