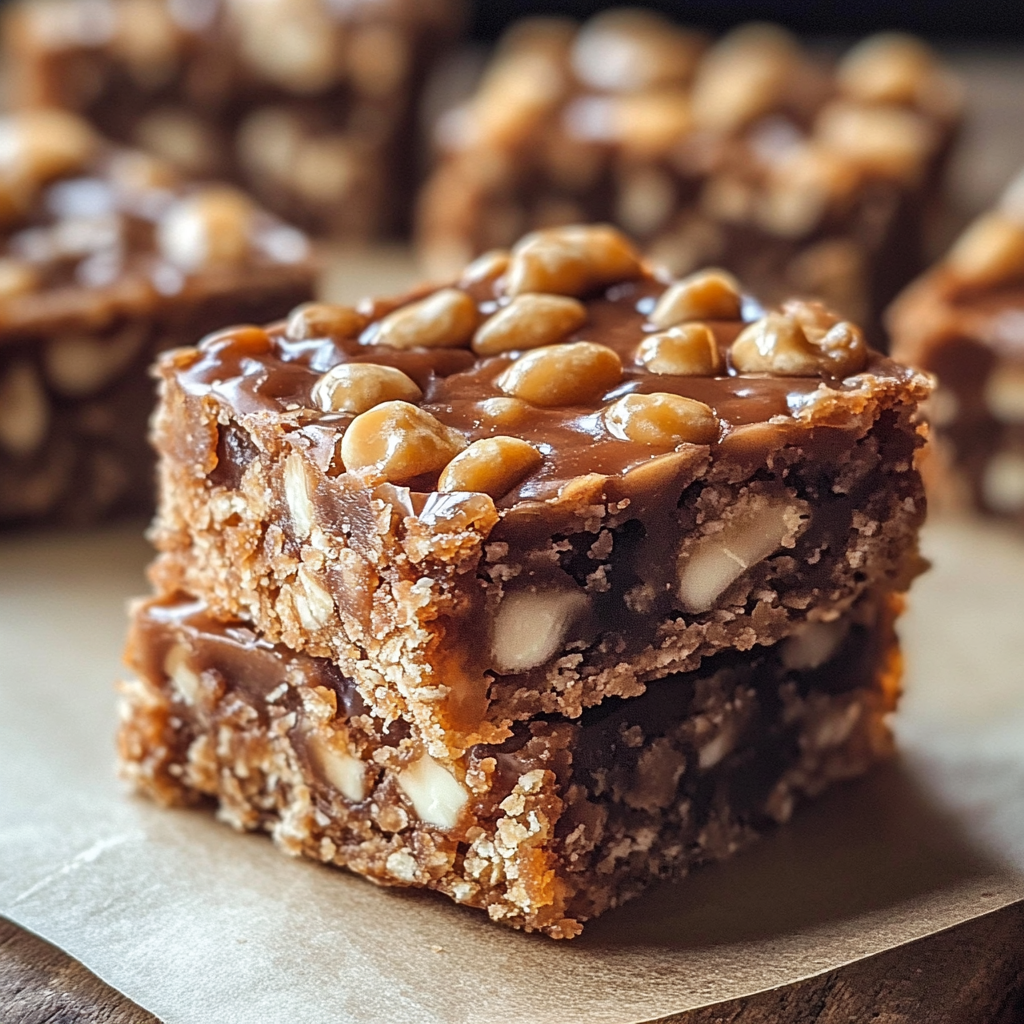
Homemade Crunch Bars are a delightful treat that transports you back to childhood. Imagine biting into a crispy, chocolatey bar that cracks softly in your mouth while delivering a satisfying crunch. The sweet aroma fills the kitchen as you whip up this simple recipe that’s both a nostalgic trip and a taste sensation.

Remember those days when your biggest decision was whether to eat one or two after school? Well, this recipe will have you channeling your inner kiddo while impressing your friends and family. Whether it’s movie night, birthday parties, or just because you deserve something sweet, these bars are the perfect solution.
Why You'll Love This Recipe
- These Homemade Crunch Bars are incredibly easy to make and require no baking
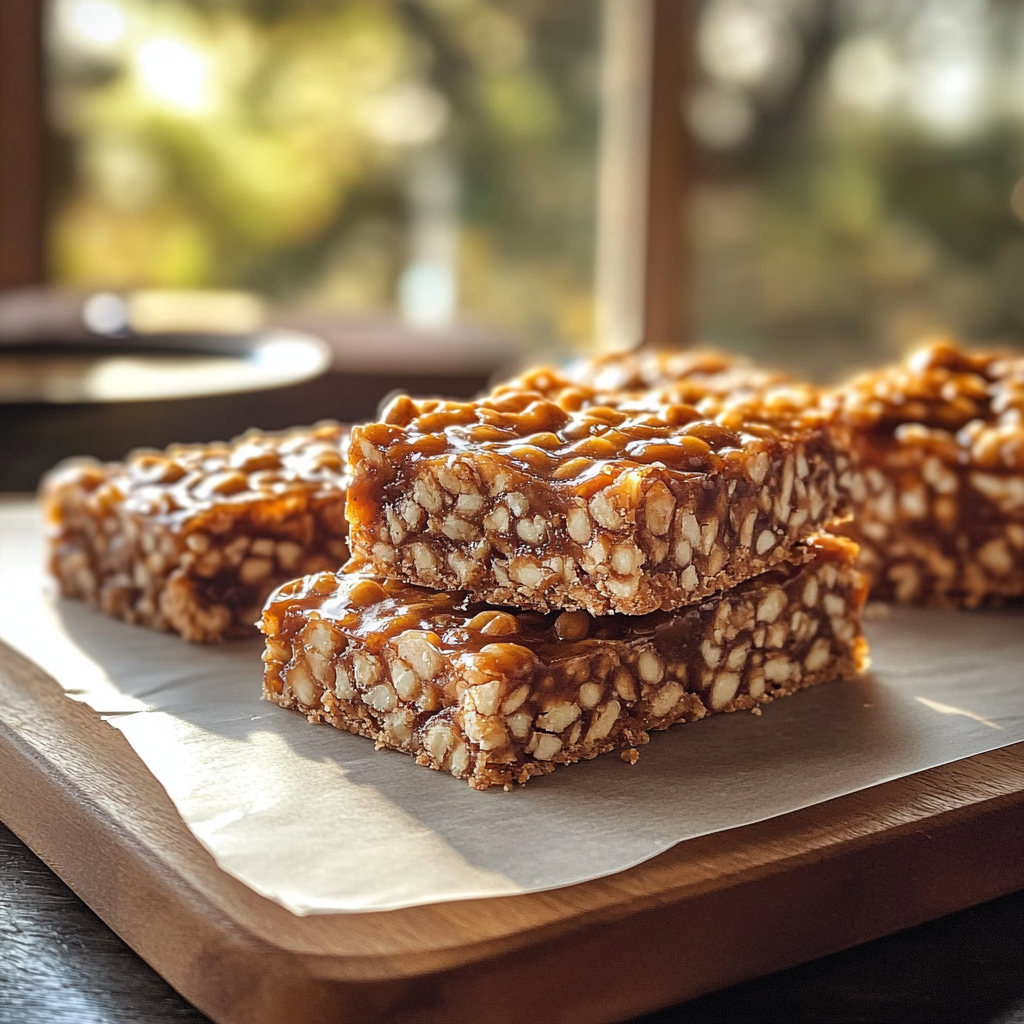
- They deliver a delightful crunch combined with rich chocolate flavor
- Visually appealing with their glossy finish and crisp texture, they are perfect for any occasion
- Customize them by adding nuts or dried fruits to suit your taste!
I once brought these crunch bars to a potluck, and let’s just say they disappeared faster than I could say “homemade.” People were asking for the secret recipe before they’d even finished chewing!
Essential Ingredients
Here’s what you’ll need to make this delicious dish:
- Chocolate Chips: Use semi-sweet chocolate chips for that perfect balance of sweetness and richness.
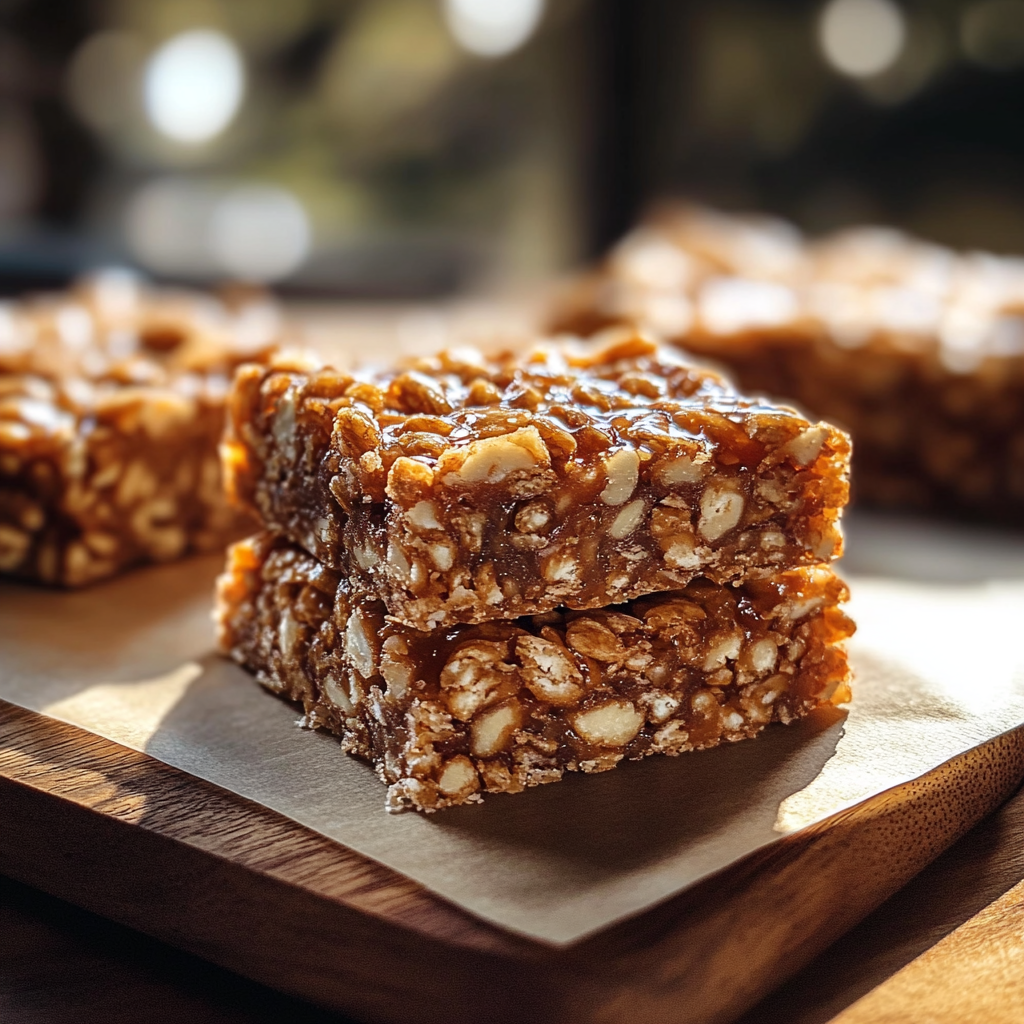
- Crispy Rice Cereal: This is the key ingredient for that satisfying crunch—don’t substitute with anything else!
- Butter: It adds richness; use unsalted butter for better control over saltiness.
- Marshmallows: Mini marshmallows melt beautifully, creating a gooey texture that binds everything together.
- Vanilla Extract: A splash enhances the flavor profile; opt for pure vanilla extract if possible.
The full ingredients list, including measurements, is provided in the recipe card directly below.
Let’s Make it Together
Prepare Your Workspace: Gather all your ingredients and tools—mixing bowls, spatula, and an 8×8 inch pan lined with parchment paper will do nicely.
Melt the Butter and Marshmallows: In a large saucepan over medium heat, melt the butter alongside mini marshmallows until smooth. Stir continuously until everything blends perfectly—this should take about 5 minutes.
Add Chocolate Chips: Remove from heat and stir in chocolate chips until they melt completely into the gooey mixture. You’ll want it silky smooth at this point!
Incorporate Rice Cereal: Gradually fold in the crispy rice cereal using a spatula until every piece is coated in chocolate-marshmallow goodness. Make sure not to crush them!
Transfer to Pan: Pour the mixture into your prepared pan. Press it down evenly with a spatula or your hands (but watch out—it’s sticky!).
Chill Before Cutting: Refrigerate for at least one hour until set. Once firm, cut into squares or bars of desired size—this is where you can feel like an artist!
Enjoy each bite of these crunchy delights knowing you’ve created something special!
Creating these Homemade Crunch Bars is not just about satisfying your sweet tooth; it’s an adventure filled with nostalgia and fun! So roll up those sleeves and get ready for some serious snacking joy!
You Must Know
- Homemade Crunch Bars are a delightful treat, easy to customize with your favorite toppings
- The combination of crispy rice cereal and rich chocolate creates a satisfying crunch that’s irresistible
- Perfect for kids’ snacks or a sweet pick-me-up during the day
Perfecting the Cooking Process
Start by melting your chocolate and peanut butter together, then mix in the crispy rice cereal for even coating. This ensures that every bite is deliciously crunchy.
Add Your Touch
Feel free to add nuts, dried fruits, or even a sprinkle of sea salt on top for an extra flavor boost. Get creative with what you have in your pantry!
Storing & Reheating
Store your Homemade Crunch Bars in an airtight container to maintain freshness. They can be kept at room temperature for up to a week, or in the fridge for longer-lasting crunch.
Chef's Helpful Tips
- To achieve perfectly textured bars, ensure your chocolate is smooth before mixing
- Press down firmly when shaping them for better cohesion
- For an extra layer of flavor, consider drizzling melted chocolate on top after they cool
It’s funny how something so simple can bring back memories of childhood snack time. I remember making these bars with my grandma who always said, “A little crunch makes life sweeter!”
FAQ
Can I use dark chocolate instead of milk chocolate?
Absolutely! Dark chocolate adds a richer flavor that balances well with sweetness.
How do I make these bars vegan-friendly?
Use dairy-free chocolate and natural nut butter to create a delicious vegan version.
Can I freeze Homemade Crunch Bars?
Yes, freezing them is a great way to keep them fresh for longer periods!

Homemade Crunch Bars
- Total Time: 20 minutes
- Yield: Approximately 12 servings 1x
Description
Homemade Crunch Bars are a nostalgic, no-bake treat that combines crispy rice cereal and rich chocolate for a delightful snack everyone will adore.
Ingredients
- 1 cup semi-sweet chocolate chips
- 3 cups crispy rice cereal
- 4 tablespoons unsalted butter
- 2 cups mini marshmallows
- 1 teaspoon pure vanilla extract
Instructions
- Prepare your workspace by gathering all ingredients and lining an 8×8 inch pan with parchment paper.
- In a saucepan over medium heat, melt the butter and mini marshmallows together, stirring until smooth (about 5 minutes).
- Remove from heat and stir in the chocolate chips until completely melted and combined.
- Gently fold in the crispy rice cereal until well coated.
- Transfer the mixture to the prepared pan, pressing down evenly with a spatula or your hands.
- Refrigerate for at least one hour until firm, then cut into squares or bars.
- Prep Time: 15 minutes
- Cook Time: 5 minutes
- Category: Dessert
- Method: No-Bake
- Cuisine: American
Nutrition
- Serving Size: 1 bar (35g)
- Calories: 150
- Sugar: 12g
- Sodium: 45mg
- Fat: 7g
- Saturated Fat: 4g
- Unsaturated Fat: 3g
- Trans Fat: 0g
- Carbohydrates: 20g
- Fiber: 0g
- Protein: 1g
- Cholesterol: 10mg
Keywords: Customize your bars with nuts, dried fruits, or a sprinkle of sea salt on top. Store in an airtight container at room temperature for up to a week or in the fridge for extended freshness.